
Well, after testing a lot of ESP32 development boards, I found that the little ESP32 D1 Mini is an excellent one.

First of all, it is very fast when programming!
Second, you don't have to fuss around with pressing BOOT, EN/RST or other complicated procedures!
Third, never, but never the programming stopped due to communication errors (like a lot of DevKit boards).
The single inconvenient I can found, and is a big one, is the dual rows of pins!
They are hard to access, I always misread the labels because they are very crammed and I found stupid to have them on the back of the board, but this is, of course, because there is no space on the upper side.

So, I was looking to an expansion board for Arduino Nano and asked myself if I can find a similar board for D1 Mini! Back in the old days when i start with Arduino (and Nano was a cheap thing) this expansion board was a gem and help me with a lot of projects....

So, I searched for a similar one but all that I found were little boards with some sh$%# on them, none being what I was really needed!
But then, I asked myself, "why not MAKING one"?
First step is to make a PLAN! What are my expectations? How do I mostly use this dev boards? What accessories I often use?
So, the requirements were written on a paper:
-Power supply from a various sources; both from USB and from external 6-20V.
-Multiple I2C configured to use I2C LCD with SCL, SDA, +, GND.
-I2C for 3V3 and 5V accessories.
-Every GPIO to have it's 3V3 and GND pins near for easy wiring.
-If the board is external powered, the regulated voltages to be available for other accessories.
-Multiple SPI.
-Accessible UART for ... things...
Using EasyEDA I made the schematic:

... and while waiting for the boards ordered in China, I also ordered the components.


Well, yeah, a close inspection will reveal that I made a mistake with the coaxial power Jack... I wired the wrong pin to Vcc :-( but the cutter fixed the little annoyance.

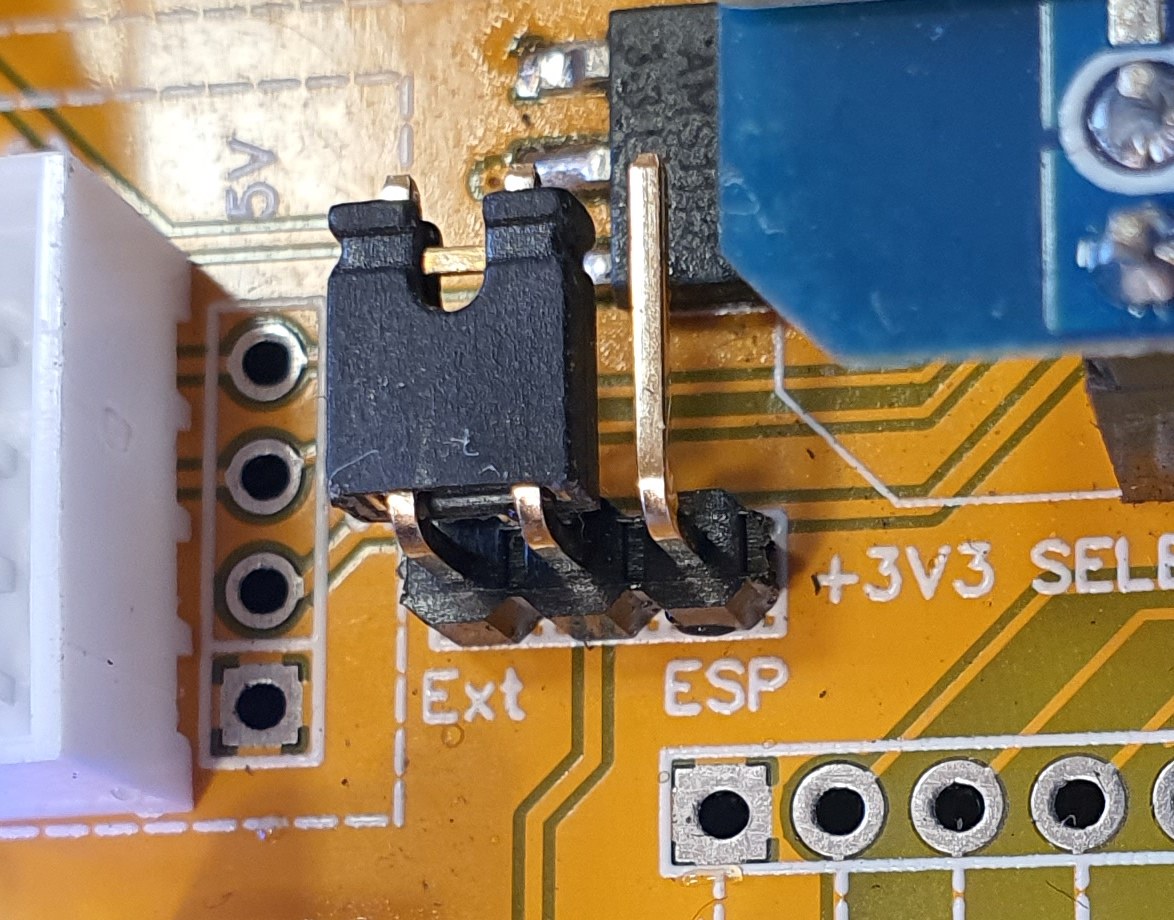
The 3V3 can be selected from the external power supply or from the ESP regulator:
I have two 3V3 I2C and two 5V I2C. Yes, i know the best practice is to have level translators but a 220 Ohm on each SDA and SCL will do the job very well...


3 SPI, one with the CS0 at GPIO5

UART and two regulated power outputs:

... and each GPIO have its GND and +3V3 near...


